Lard is a delicious and healthful fat, particularly lard from forage grazed pigs. It is rich in vitamin D and small amounts of the beneficial fatty acid palmitoleic acid. Rendering pork fat into lard is easy and useful, and it allows you to buy the un-rendered pork fat at a lower price than rendered lard. Also, if you buy a whole or half hog, you can get more from your hog by saving and rendering its fat. The process is simple and easy, albeit somewhat messy. And it doesn't take all day to do; the whole process takes about 3 hours.
By the way, we have lots of leaf lard available. Contact us to get your hands on some.
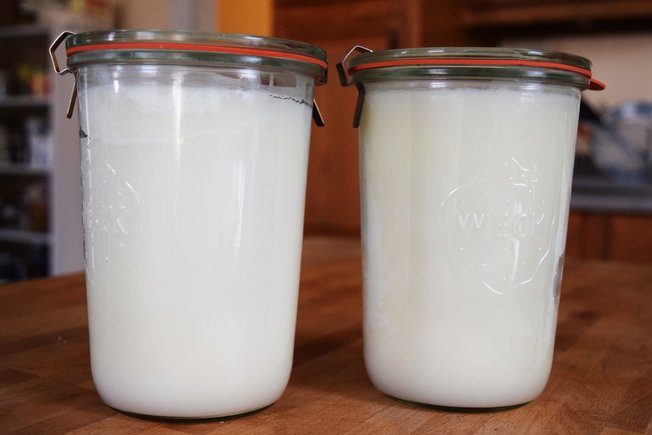
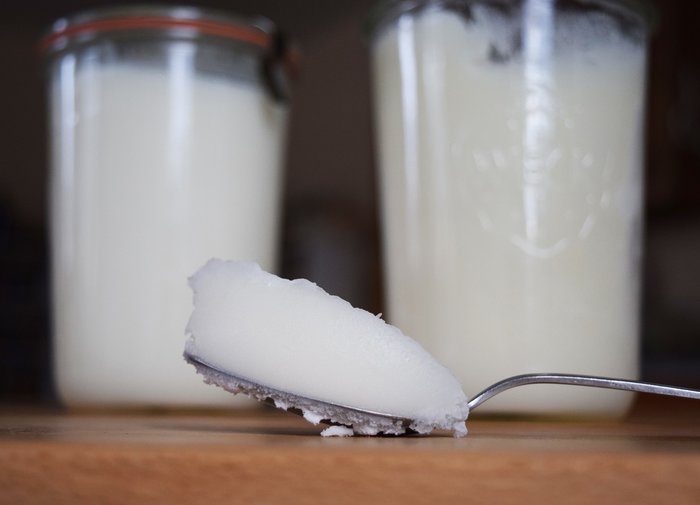
Now, let's turn that un-rendered lump of pork fat into this beautiful snow white lard...
By the way, we have lots of leaf lard available. Contact us to get your hands on some.
Now, let's turn that un-rendered lump of pork fat into this beautiful snow white lard...
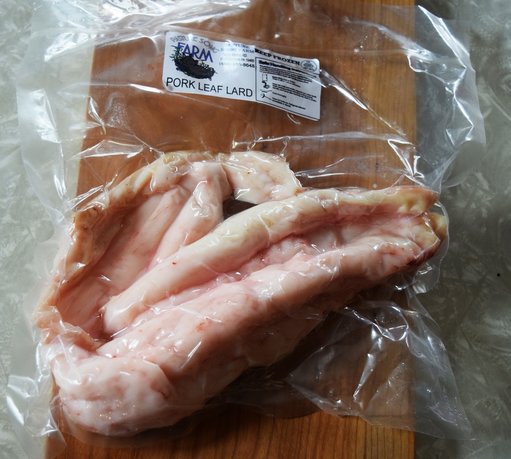
First a brief explanation of the different types of lard. The highest grade is the leaf lard, which is the fat surrounding the kidneys. It has little pork flavor, and is whiter when rendered. Leaf lard is prized for baking and pastry making. The second grade of lard is from the back fat, and has more pork flavor and isn't as white. This type of lard is great for sauteeing, roasting, and frying savory foods. It is usually somewhat cheaper than leaf lard.
There are two rendering processes, wet and dry. For the home renderer, the dry method is easier. To do this, it requires melting the fat on low and slowly for about 2 hours. In order to prevent burning, it is stirred often, and kept on low. I never add water to the pot as some recommend, because I haven't found it necessary, and in some cases the water hasn't fully evaporated. It is important that there is no water in the final product, as this will cause spoilage. That is why I choose not to add any water, and also why it is important to pour the lard into dry jars. Onto the rendering...
There are two rendering processes, wet and dry. For the home renderer, the dry method is easier. To do this, it requires melting the fat on low and slowly for about 2 hours. In order to prevent burning, it is stirred often, and kept on low. I never add water to the pot as some recommend, because I haven't found it necessary, and in some cases the water hasn't fully evaporated. It is important that there is no water in the final product, as this will cause spoilage. That is why I choose not to add any water, and also why it is important to pour the lard into dry jars. Onto the rendering...
Ingredients/Supplies:
~For 1 quart of lard, you'll need approximately 5 pounds of fat
~Large stainless steel pot with lid
~Fine weave cheesecloth, or fine weave kitchen towel
~Strainer
~CLEAN and DRY glass storage jars
~Large glass measuring cup or pitcher
Directions:
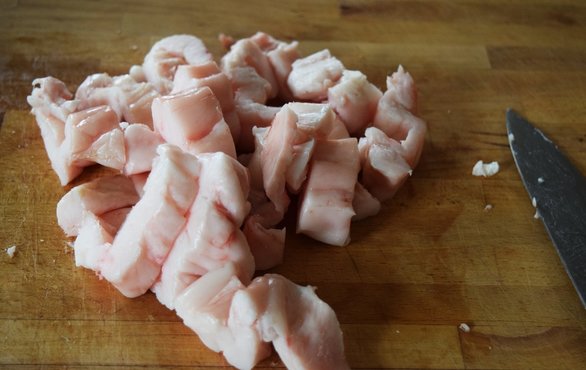
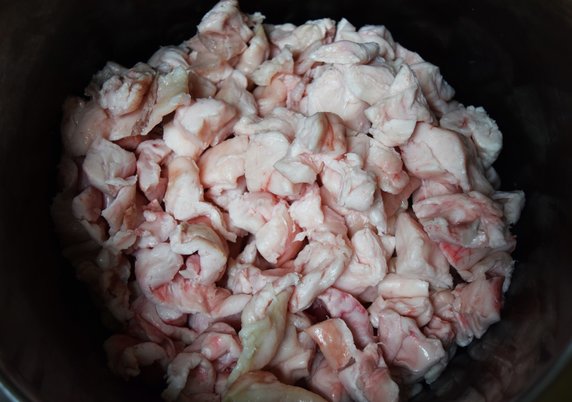
Chop the fat into large chunks and place into a stainless steel pot. Cover with a lid, and heat on low.
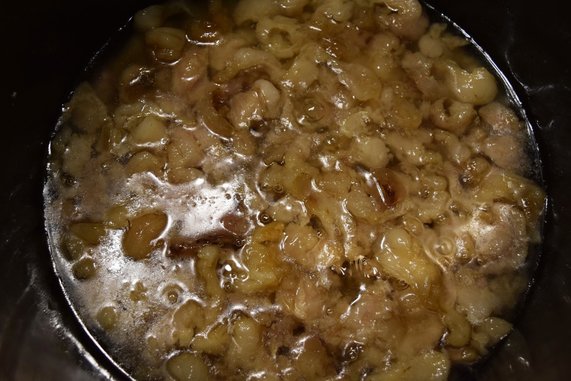
After about five minutes, give it a good stir, making sure to stir the bottom too to prevent it from sticking and burning. Then stir every ten minutes until there's a good amount of liquid melted. This takes about 20 minutes.
Every half an hour, give it another stir. You'll notice the chunks reducing in size and the liquid fat increasing. It's important that it doesn't burn at all, because that imparts a smoky flavor.
When the chunks (called cracklings) have sunk to the bottom, & the liquid isn't increasing anymore, the lard is rendered. This takes about 2 hours.
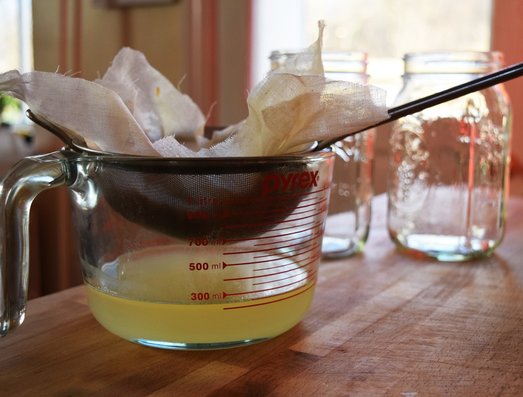
Remove from heat. Now you're ready to strain and store the lard. Get your clean and dry jars handy. Place a strainer on top of a large glass measuring cup or pitcher, and place a piece of fine weave cheesecloth over the strainer. Ladle the fat from the pot, and pour over the cheesecloth. Do this in batches, until all the liquid fat is strained.
Let the jars cool in the fridge with the lids off. You're all done! Well, except for the cleaning part...
You can turn the leftover cracklings into a delicious snack by frying them up in small batches on the stove.
Photos of the process follow below.
Stay tuned for a tasty Southern style biscuit recipe, made with leaf lard of course!
 RSS Feed